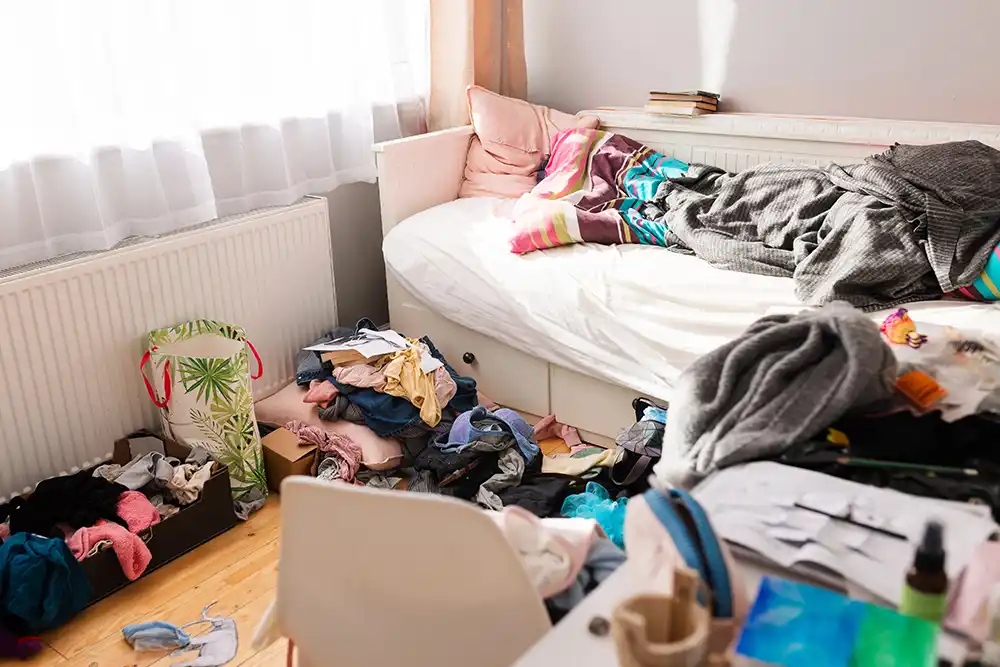
Clutter has a sneaky cost, and if you are anything like me – having little ones at home while trying to stay on top of household chores and other work, you know how overwhelming it can all get. As a homeschooling mom of little kids, I’m giving you the top tips we used to do our home organization on a budget.
You are going to learn all about home organization on a budget, from clearing the space, deciding what to keep, donate, or trash, to the practical solutions (bins and baskets) and actual habits and techniques (like labels and zones) to make it work and the habit to last.

The good news is home organization on a budget doesn’t start with shopping. It starts with clearing space, using what you already own, and setting up simple “homes” for the things that stay. You can get a calmer house without buying matching bins, fancy labels, or a whole new system.
Affiliate Disclosure: As an Amazon Associate, I earn from qualifying purchases. This helps support my work and allows me to continue creating helpful content — thank you for your support!
Start by clearing space, not buying storage
A simple rule of thumb helps when decisions feel hard: if you don’t use it, you don’t need to store it. Now, I am not talking about sentimental items or seasonal gear. It means “storage” shouldn’t be a permanent parking lot for stuff you don’t want to decide about.
In a nutshell, if your have clutter lying around, you are going to have to go through it and start making some decisions. Because, let’s face it, chances are you don’t need or want all of it.
Do a fast “keep, donate, trash, relocate”
Pick one small area so you actually finish: one drawer, one shelf, or one counter. Set a timer for 15 to 30 minutes and move fast. You’re building momentum, not chasing perfection.
To help me with this process, I actually included a list of all cabinets and drawers in my Mom Planner. This way, when I time block in my daily planner (30 mins to ‘clean a drawer’) I don’t end up spending the time deciding on which drawer to clear and organize.
That’s right, I actually have a list with all the drawers and cabinets in the entire house, and a checkbox next to them. So long as I hit them once a year, I’m happy. There is a sticky note at the back of each cabinet with the number of that cabinet (corresponding to the one in my planner) so I just get on with it and do it.
Back to decluttering your space first. Use these seven categories:
- Keep: You use it, you like it, and it belongs in this area.
- Donate: It works, but you don’t use it.
- Fix: Brocken things you can fix, stained clothes you can do something about, good clothes with a small hole you can stitch
- Trash: Things that are thrash, you can’t or don’t want to try and fix
- Relocate: Useful items that belong somewhere else.
- Recycle: Packaging, broken plastic toys that can be recycled. We actually use our recycling bin materials for science experiments, but more about that in other posts. But yes, packaging makes great start for doing science experiments with your kids – and it’s free.
- “Maybe”: Things you are not sure about. Expensive clothes you don’t wear, or things you are not sure if you will need in the future.
Set a timer for 1 hour.
Make the decisions obvious first. Start with things that are obviously garbage, toss expired products.
Recycle instruction manuals you can find online. Put duplicates in a small pile and keep the best one. When you find something you forgot you owned, treat that as a clue: if you didn’t miss it, it probably doesn’t earn space.
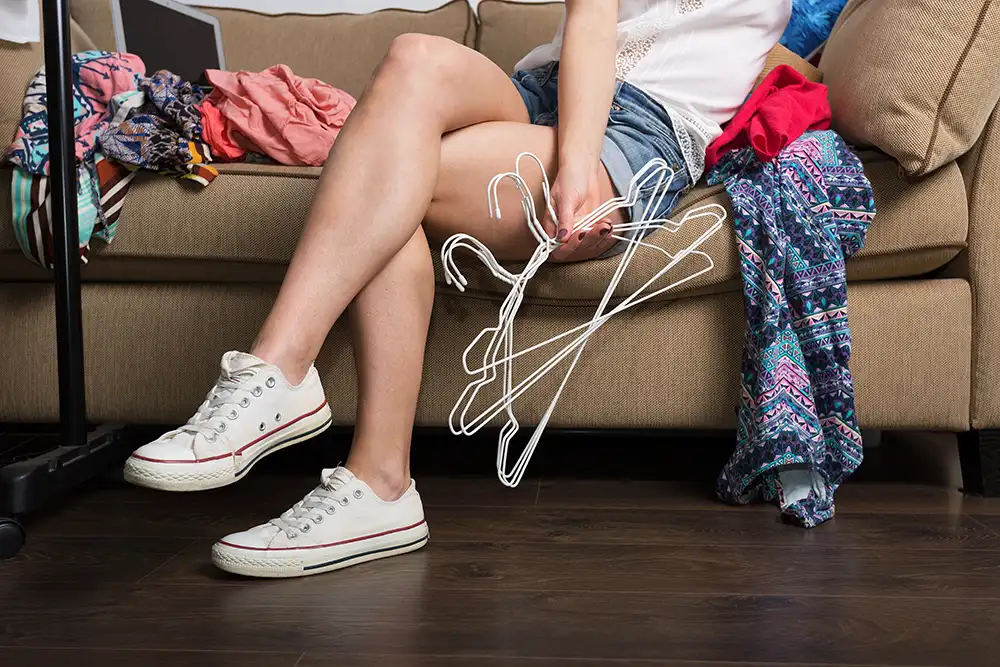
When the timer rings, stop. Take the donate bag to your car or by the door. Don’t forget to tie the donate bag so you aren’t going to be tempted to go through it once more to check if all the items you put there really need to be donated. make a nice tight knot. And if it’s a box, tape it closed.
Put trash straight into the bin.
Put “relocate” items in a single basket or box so they don’t spread into new mess.
If this sounds too overwhelming because you are drowning under clutter, listen to this video on YouTube by Clutterbug – it’s inspirational, and also very helpful as it’s 1 hour long and you can listen while you declutter.
Use a “maybe box” to stop overthinking
Some items trigger long debates. “I might need this someday.” “This was expensive.” “What if I regret it?” That’s how clutter wins.
A “maybe box” gives you a fair test without letting maybes take over. Use a bin, label it with today’s date. Put it out of sight (top shelf, closet corner).
- If you don’t open it in 30 days, donate it or sell it
- For seasonal items, put them in another box, and if you don’t open it for two seasons, donate it or sell it. Of course, this does not apply for children’s clothes if you are having littles ones that gets clothes passed on to them. Children’s clothes organization is a whole other story.
Shop your home first, then repurpose what you already have
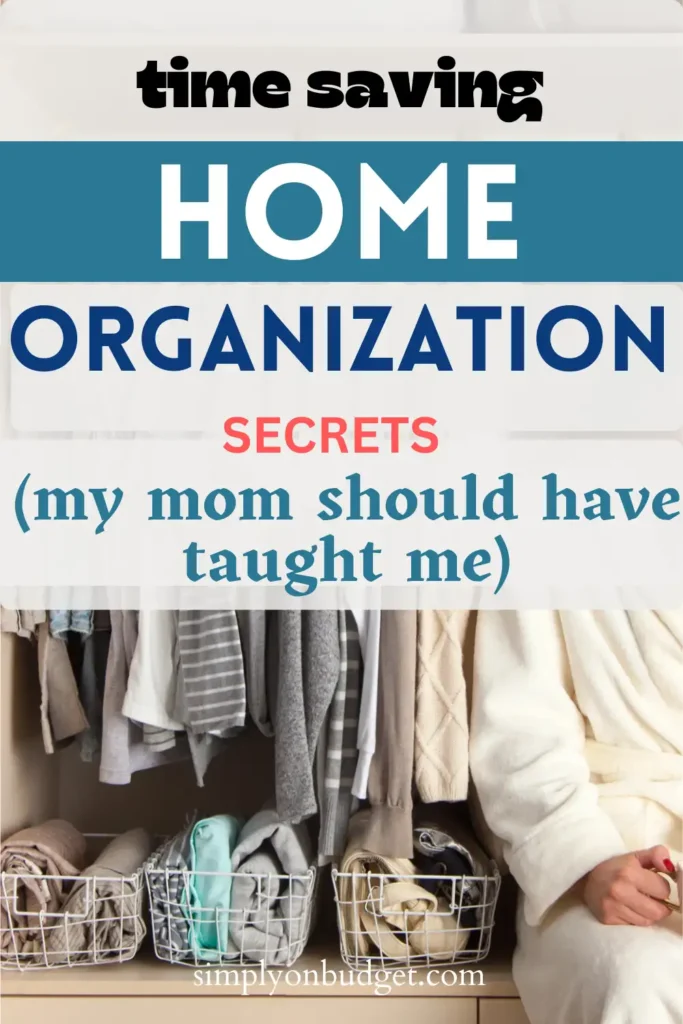
After decluttering, “shopping your home” is the budget-friendly move that helps move things along. You’re looking for containers that already fit your space and your life. That might be a shoebox that fits a drawer perfectly, a glass jar that holds cotton pads, or a tote bag that becomes a grab-and-go activity kit.
The biggest mistake here is buying a matching set because it looks nice. Instead, match the container to the space and purpose. A deep basket might be great for extra towels, but it’s terrible for small items that disappear at the bottom.
And don’t be afraid to hack items. If a cardboard box is too big or too tall, make it smaller. There are videos on YouTube that show how to do it. Get things going and working for you first, and then, if you are unsatisfied with how something looks, replace it with a nicer item when you can.
Everyday items that make great organizers
Before you use anything, do a quick clean: wash, dry, and remove labels if they’ll snag or look messy. Then keep it simple.
Here are reliable, no-cost options and where they shine:
| Everyday item | Best for | Quick prep |
| Shoeboxes | Socks, small tools, kid art supplies | Wipe, add a simple label |
| Phone boxes | Cables, adapters, batteries | Tape the lid so it stays put |
| Cereal boxes (cut down) | Pantry packets, foil, snack bags | Trim to drawer height |
| Mason jars | Cotton balls, pens, coins | Wash, remove sticky residue |
| Mugs | Makeup brushes, scissors, markers | Run through dishwasher |
| Baking dishes | “Drop zone” for keys, mail, wallet | Place near entry or desk |
| Small baskets | Toiletries, cleaning cloths, snacks | Shake out dust, line if needed |
| Totes | Seasonal gear, sports items | Label front and side |
| Zipper bags | Puzzle pieces, travel cords | Write contents with marker |
| Rubber bands and binder clips | Group cords, papers, coupons | Store in a tiny cup |
A small mindset shift helps: containers aren’t decoration first. They’re boundaries. Their job is to keep a category from spreading.
That being said, it’s perfectly possible to DIY a nice-looking container. You can use fabric – ideally, that you already have – old bedsheets with a pattern (not white LOL) are great for that. You can also buy them cheaply from a thrift store. Cut and glue the fabric to the cardboard box.
There are lots of ways to make a DIY fabric box. Basically, depending on your time and skill level, you can sew it or glue it.
DIY dividers and labels that cost almost nothing
Drawer dividers don’t have to be bought. Cardboard from shipping boxes is sturdy enough for most drawers and cabinets.
A simple method:
- Cut cardboard strips to drawer height.
- Fit them snug so they don’t slide.
- Tape corners with packing tape or masking tape.
- Test for a week, then adjust.
Don’t skip the labels
Labels should be readable, above all. Use masking tape, painter’s tape, immediately over your newly organized containers so you don’t forget what’s in them or worse, add clutter to them in your effort to just get it done faster. This is the ‘draft’ stage of labeling. Keep labels to one or two words (like “Batteries,” “Sunscreen,” “School forms”).
The goal is a system you can maintain with ease, not a craft project that never gets finished.
However, if you are a visual person like me, you know you won’t be able to stand ugly, painter’s tape, or misaligned labels. Ugly labels can feel like they add to the clutter you are trying to tackle. So, I’ve included this easy-to-print page to help you get prettier labels on. To secure them, print them on sticky paper or glue them to a piece of cardboard, then cut and/or secure with a tack. You can also use a label maker. I absolutely love using my label maker, as it’s so easy and fast.
But before I had a label maker, I used to print, laminate, and use double-sided tape.
A pro tip for newbies: don’t write with a pen or marker and then put scotch tape over your label, as over time the glue from the scotch tape makes the ink bleed, making your labels all fuzzy-looking.
Set up simple systems that stay organized (even on busy weeks)
A tidy home isn’t built on motivation (though motivation can help you get your home organized). It’s built on fewer items and clear “homes” for what remains. When things have a home, you stop doing the daily scavenger hunt.
Use three rules:
- Group like with like (all baking tools together, all hair items together).
- Give each group a home (a drawer, bin, shelf, or basket).
- Keep daily-use items easy to reach (front, eye level, or top drawer).
It’s all about reducing friction.
Use “zones” so items stop wandering
Zones are small purpose-based areas where related items live. When a zone is clear, your home feels easier to run.
A few high-impact zones:
- Entry drop zone: Keys, wallet, sunglasses, dog leash, and a small tray for daily mail.
- Cooking zone: Oils, salt, spices you use often, plus tools near the stove.
- Lunch-packing zone: Bags, containers, napkins, and snacks in one cabinet or bin.
- Homework zone: Pencils, books, stationery, and paper in one caddy.
- Cleaning zone: All-purpose spray, cloths, and trash bags stored where you clean most.
- Homeschooling zone: Well, this is still a work in progress for us. There are just too many moving parts, and I’m still working on it
Store items where you use them, not where they look nice.
{RELATED POST: ✔ How to Have a Clean Home With Kids: Deal With the Source Problems First, and The Rest Will Fall Into Place}
Keep it from getting messy again with a 10-minute reset
The secret to staying organized is small maintenance. A 10-minute reset is like brushing your teeth. You don’t wait for a crisis.
This routine works well for us:
- Clear counters: Put items back in their homes.
- One laundry load start to finish: Wash, dry, fold, put away
- Reset the sink: Clean the dishes and wipe it clean
- Quick floor sweep or vac in the busiest area (kitchen, entry, living room).
- Clean playroom: toys must be put back in their places
I’ve also included a cleaning schedule in my Mom Planner this year, which so far I’ve stuck to and it’s been working great. Basically, it’s a typical monthly cleaning calendar, which varies week by week.
I run my cleaning routines monthly, not weekly, because I find that not everything needs to be cleaned weekly, and there are too many things to hit. I then go into my weekly planner for each week of the month to trickle the tasks, and then write them down in the To-Do category in the Daily Planner.
Consistency beats perfect. A slightly messy system you maintain wins over a perfect system you avoid.
Avoid the organizing traps that drain your wallet or are too hard to maintain
Many organizing aisles are built on one idea: you’re one purchase away from a calm home. But if you buy storage to avoid hard decisions, you’ll end up with expensive containers holding the same clutter.
A safer approach is to treat organizing tools like seasoning. A little can help. Too much ruins the meal.
The biggest traps (and what to do instead)
Buying bins before decluttering: You’ll buy the wrong size, and you’ll buy too many. Fix: declutter first, then use shoeboxes as a test run.
Buying matching sets: Sets look great online, but rarely fit your exact shelves and drawers. Measure the space, then buy or make (like fabric-covered boxes) only what fills a real gap.
Using storage to hide clutter: Hiding isn’t organizing, it’s relocating the stress. If the item has no home, decide whether it should have one.
Micro-sorting everything: Too many tiny categories turn into a system no one follows. Start with broad groups, split only if a category gets messy often.
Buying “aspirational” organizers: A spice rack for a person who never cooks, a file system for papers you don’t file. Build around what you actually do, not what you wish you did.
If your system needs you to be a different person, it won’t last.
When it is okay to buy something, and how to do it cheaply
Sometimes buying one thing is the right call. The trick is to buy with a clear reason, not a vague hope.
Did you do these things first?
- You decluttered first.
- You measured the space.
- You tried a free option for a week.
- You’ll use it daily or weekly, not “someday.”
- You’re buying one or two pieces, not an entire system.
If you do buy, keep it boring. Clear bins can help when you need to see contents fast. Sturdy baskets can help when you need to carry things from room to room.
The best organizer is the one that makes putting things away feel easy.
Clutter doesn’t disappear in one weekend, and that’s okay. It has taken us months to get things organized. Start with less stuff, repurpose what you already have, create a few simple zones, and avoid shopping traps that add cost and clutter at the same time. Pick one drawer or one shelf today, set a 20-30 minute timer, and use one box from home as your first organizer. Small wins stack up, and organized starts to feel normal.
These are main principles I used when I was getting through tons of clutter and how you can easily set your home organization on a budget.
This post was all about home organization on a budget.
Other Posts You May Like: